after the wedding: a bride’s checklist for the first 30 days
The wedding is over but there are still a few important things to take care of. Here’s your week-by-week guide to thank-you notes, dress and bouquet preservation, gifts, vendor reviews, paperwork, and finally getting those wedding photos organized.

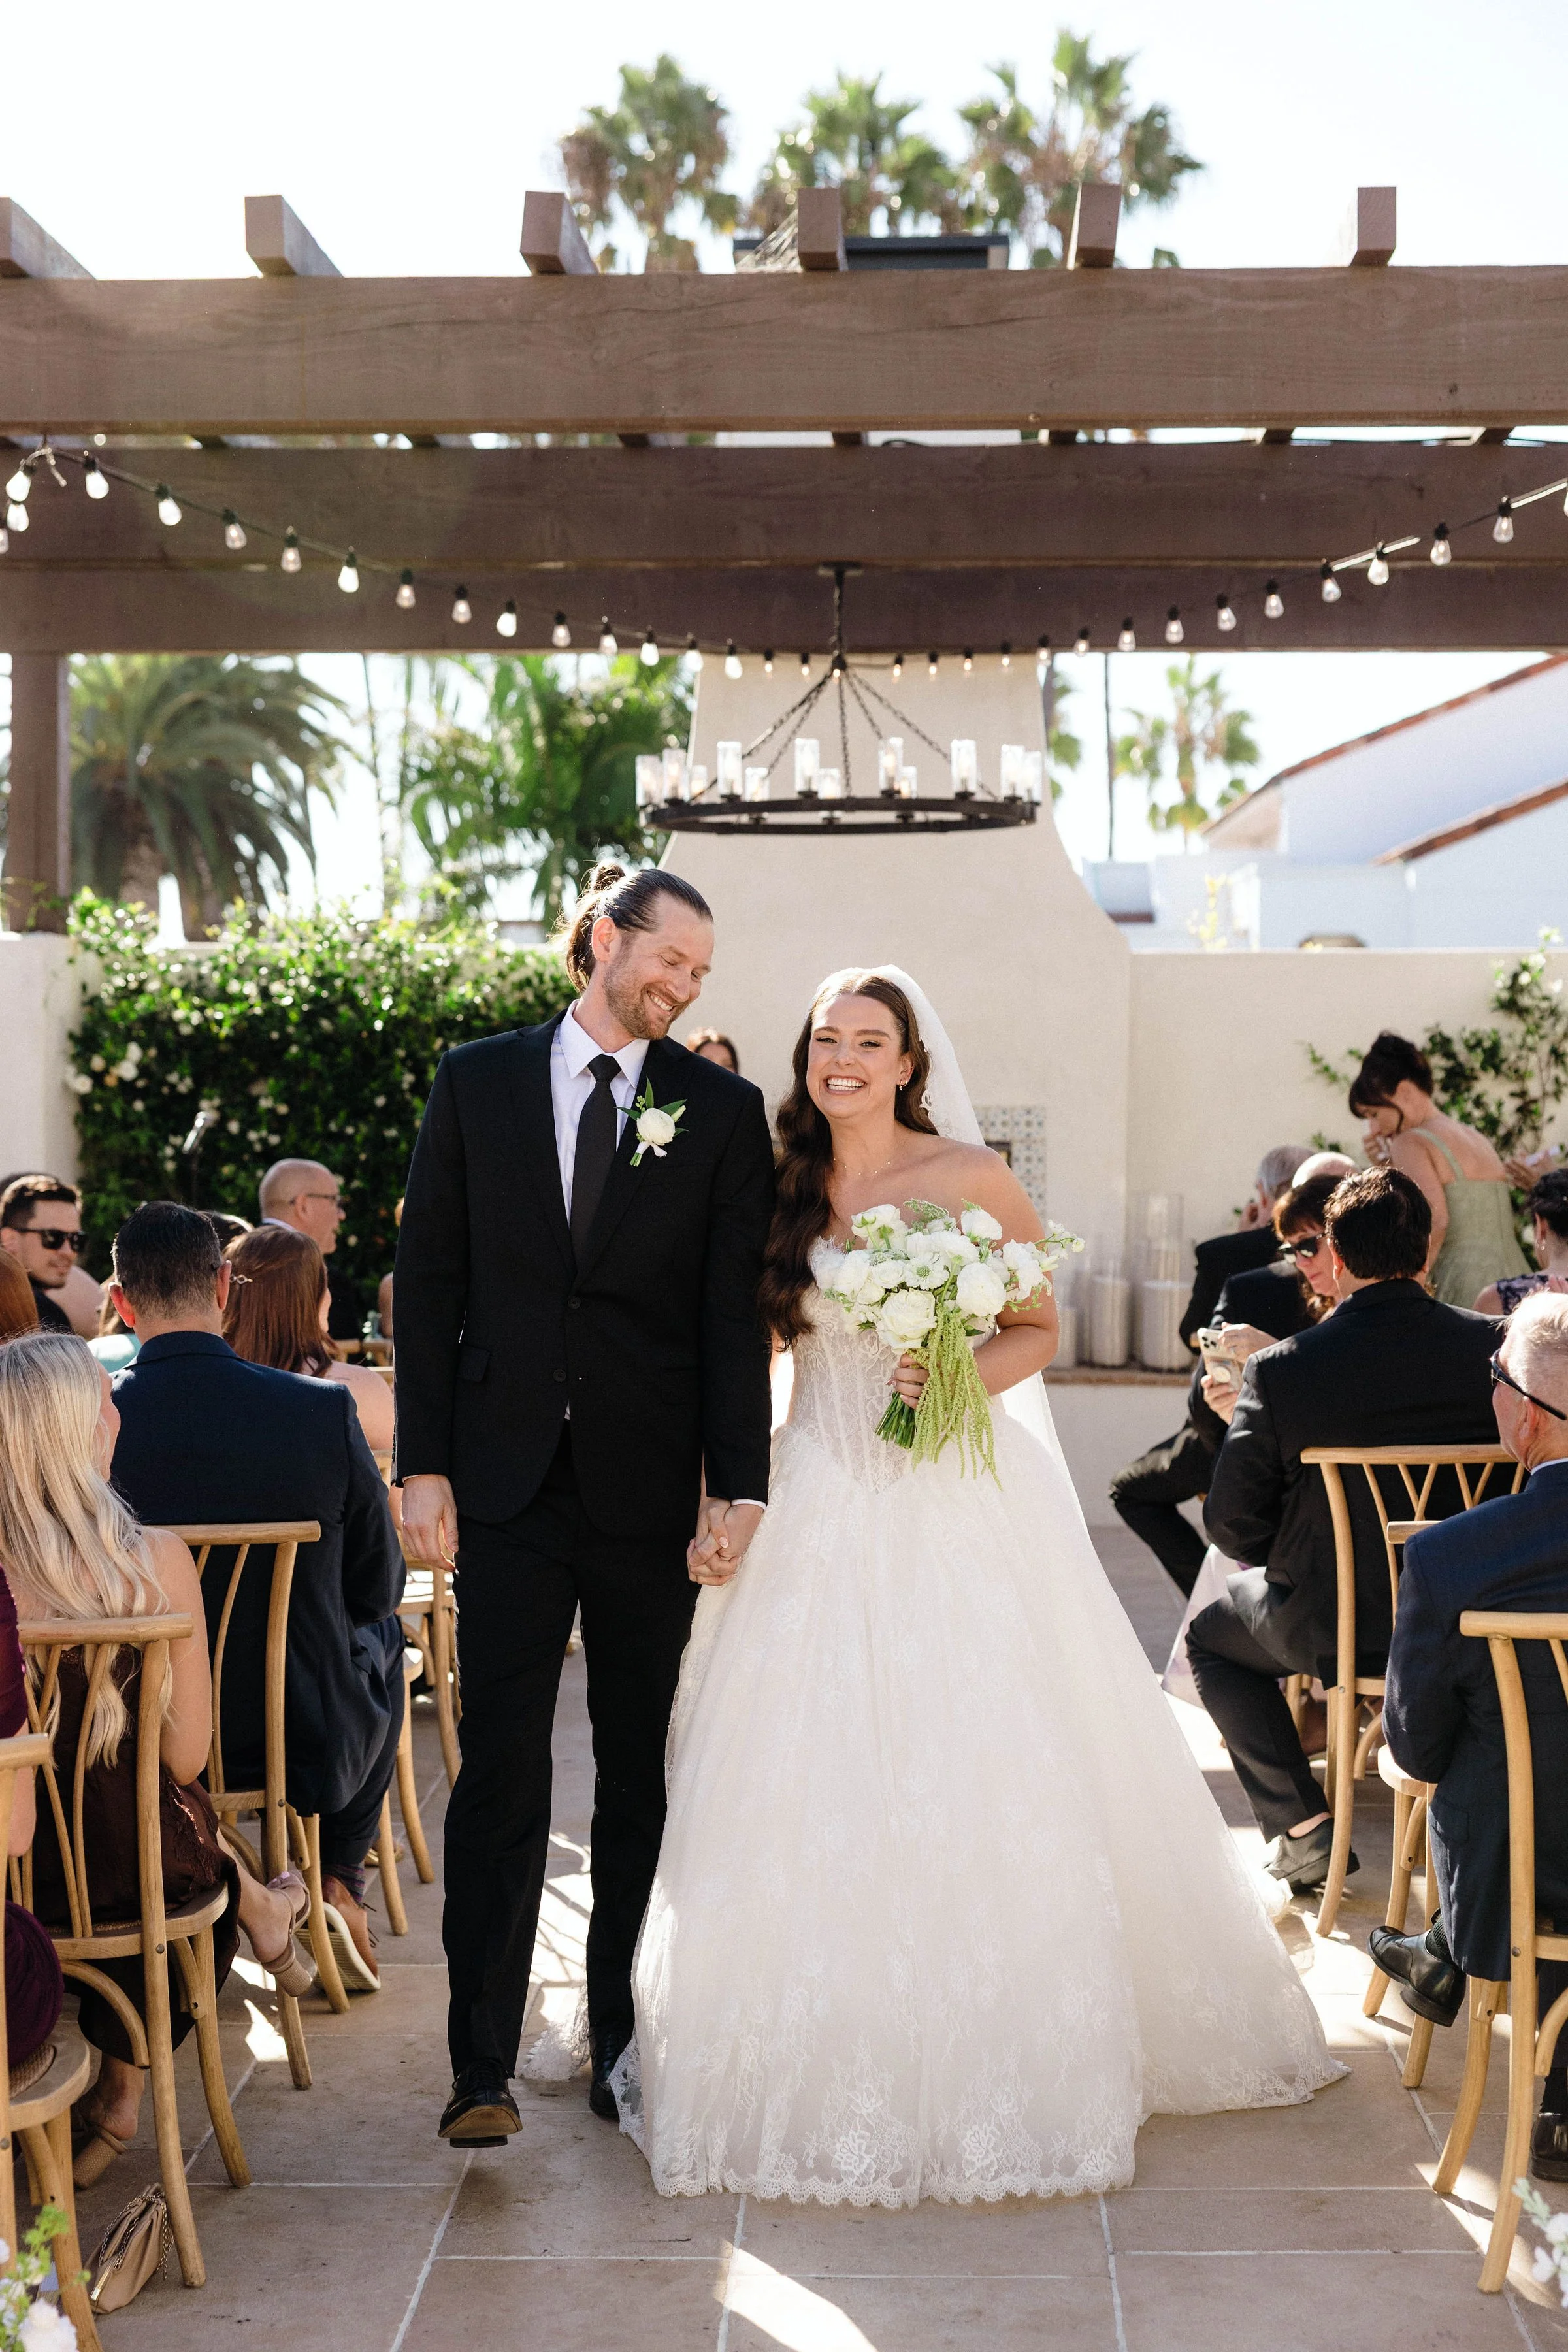
The First 24–48 Hours: Preserve the Things You Can't Replace
Before you unpack your honeymoon suitcase or start thinking about thank-you cards, deal with the things that are time-sensitive.
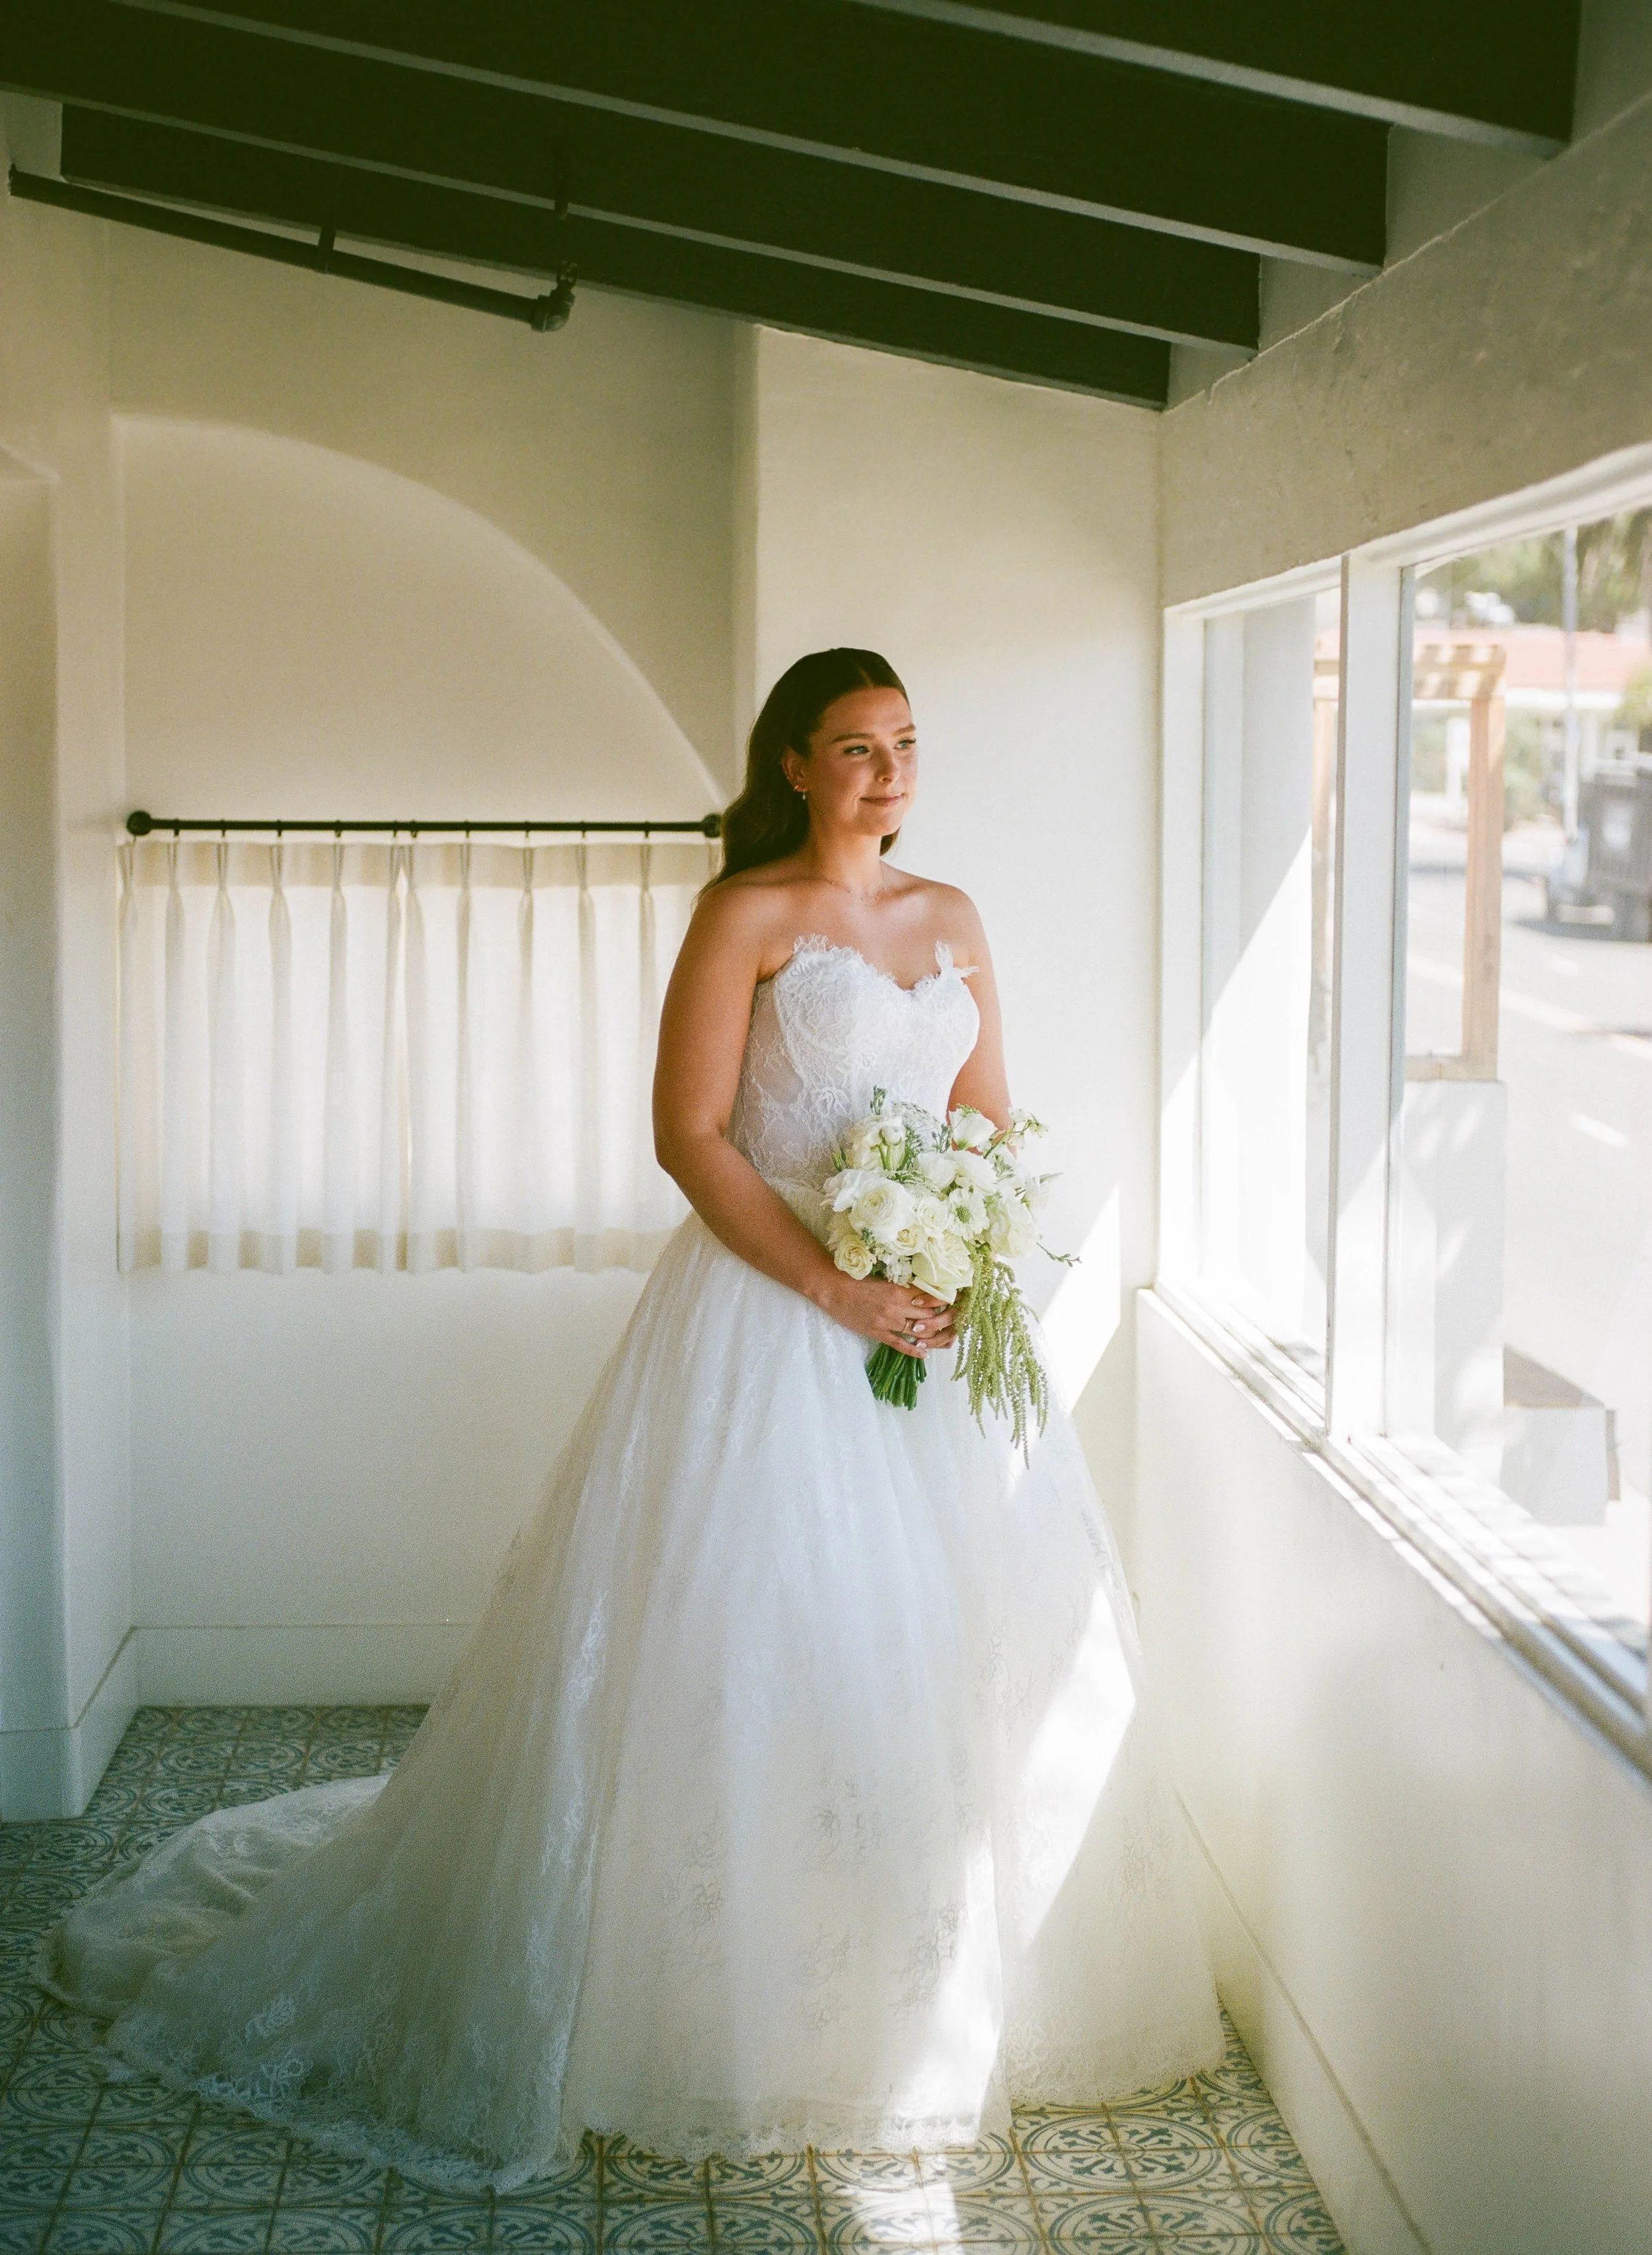
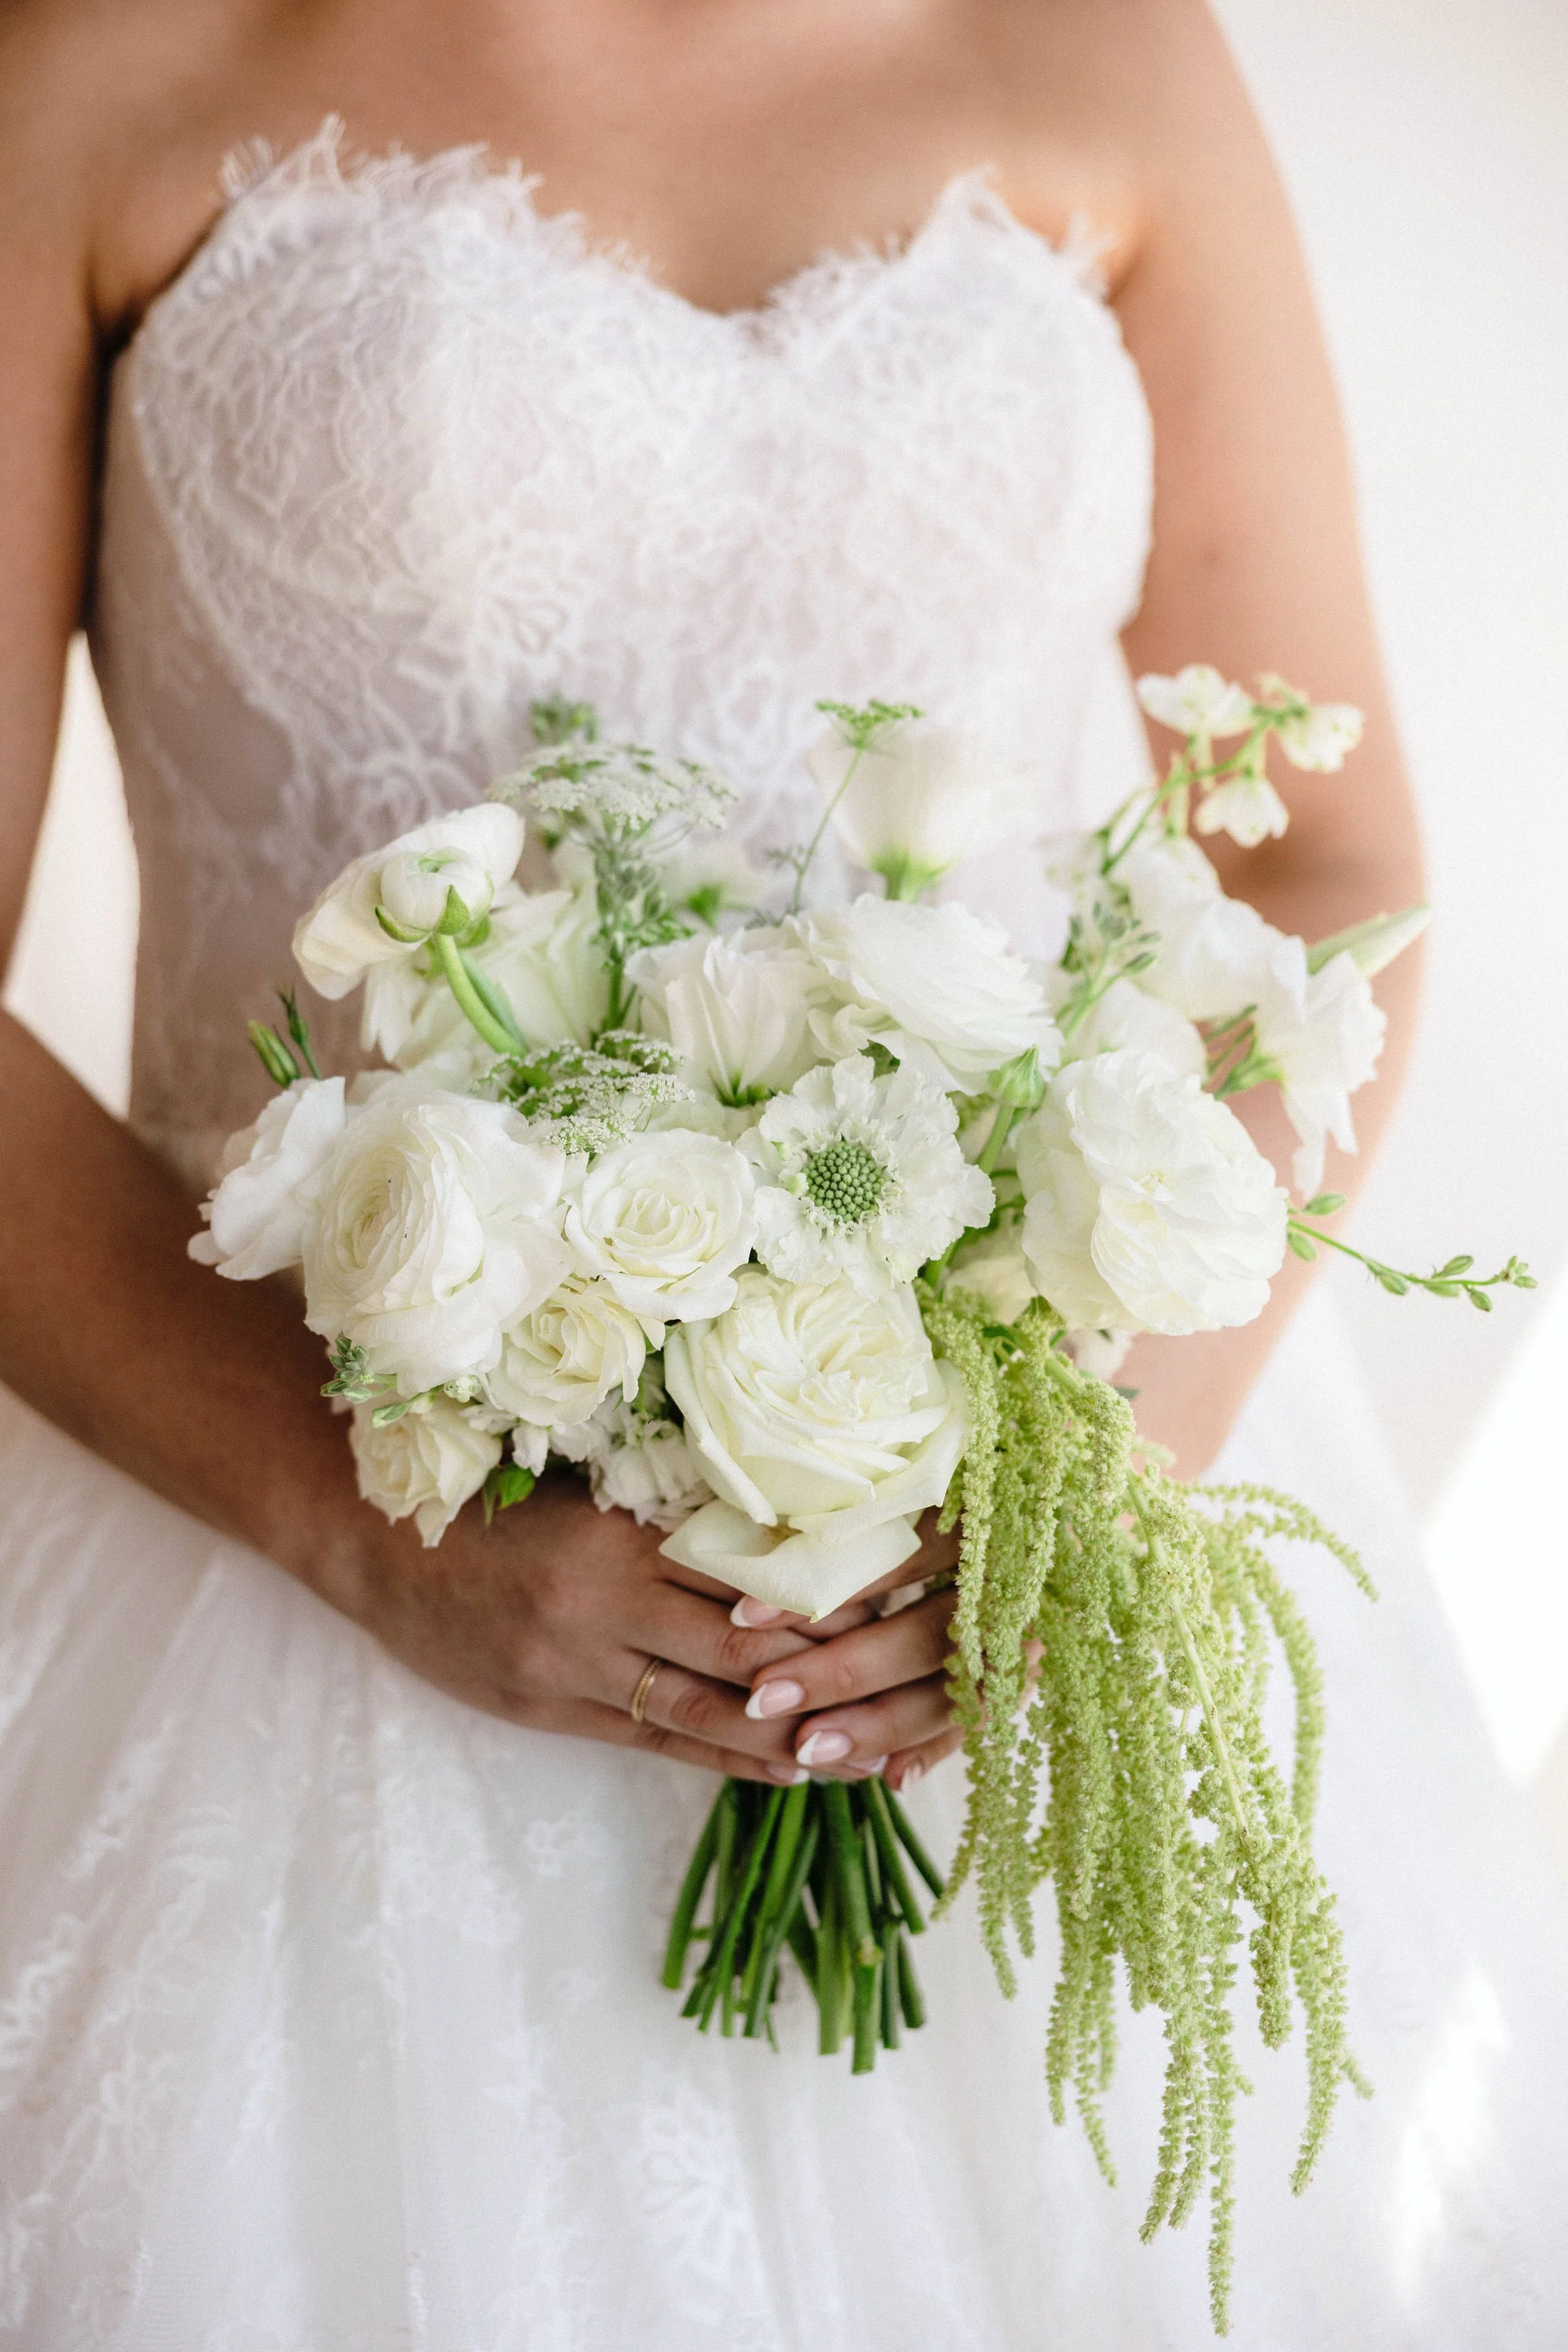
Preserve Your Bouquet + Wedding Dress
If you want to preserve your bouquet or dress, don't wait a month to make the decision. Tip: many preservation artists want flowers within a few days of the wedding.
What to look for when choosing a preservation company:
Professional cleaning before preservation
Acid-free or archival storage materials
Insurance during shipping
A clearly stated warranty or guarantee
Options for preserving your veil and other accessories
A documented process for treating stains and delicate fabrics
For example, Elegance Preserved in the Southern California area specializes in preserving wedding dresses. A great OC recommendation for custom wedding-bouquet preservation, is California Preserved Flowers, with options ranging from display pieces to smaller keepsakes. They also serve clients outside the area through shipping.
For brides who don't live near a preservation studio, The Petal Preservation Co. is an online option offering shadowboxes, resin pieces, and other floral keepsakes. The company recommends getting flowers to them within 48 hours and accepts clients throughout the U.S.
Quick tip: If you're not ready to decide on the final design, contact the preservation artist anyway. Some studios can temporarily hold or freeze flowers while you make your selection.
Week 1–2: Organize the Gifts
Once you're home, designate one area for wedding gifts and keep a simple list of:
Who gave the gift
What they gave you
Whether they attended the wedding
Whether they sent a gift separately
Whether you've sent a thank-you note
Don't rely on memory, especially after a wedding where multiple guests may have given similar gifts.
If you used a registry, check whether the registry has a gift-tracking feature. This can save you a surprising amount of time.
Week 1–3: Start Your Thank-You Notes
You don't have to write 150 thank-you notes in one sitting.
Instead, create a manageable goal—perhaps five to ten notes per day.
Your thank-you note doesn't need to be elaborate. Mention the specific gift whenever possible and, for guests who attended, thank them for celebrating with you.
A simple formula is:
Thank them + mention the gift + say how you'll use it + thank them for celebrating with you.
And remember: cash gifts deserve a thoughtful thank-you too. You don't necessarily need to mention the exact amount; you can say how much you appreciate their generosity and support.
Week 2: Make Your Name Change & Paperwork Plan
If you're changing your name after marriage, don't put the paperwork off indefinitely.
One service worth mentioning here is NewlyNamed, which creates personalized name-change kits for marriage. Its current offerings include instructions and applications for Social Security, passports, driver's licenses/REAL ID, vehicle registration, voter registration, USPS, and a large selection of banks, credit cards, insurance companies, loyalty programs, and professional organizations.
Important: A service like NewlyNamed is a convenience tool, not a replacement for checking your state and individual agency requirements. Your marriage certificate is the key document you'll generally need to begin the process.
Your post-wedding paperwork checklist can include:
Order additional certified copies of your marriage certificate if needed
Social Security
Driver's license/REAL ID
Passport
Employer/payroll records
Banks and credit cards
Insurance policies
Retirement and investment accounts
Professional licenses
Frequent-flyer and hotel accounts
Vehicle title and registration
Voter registration
USPS
Subscriptions and memberships
And if you're not changing your name, there's still paperwork to consider: insurance beneficiaries, emergency contacts, financial accounts, address changes, and other newlywed administrative details.

Week 2–3: Review Your Wedding Vendors
Your vendors spent months helping you create the wedding. Now is the perfect time to return the favor with an honest review.
Consider reviewing:
Wedding planner
Venue
Photographer
Videographer
Florist
Caterer
DJ or band
Hair and makeup artist
Cake baker
Transportation
Rentals
Stationery designer
Officiant
Don't feel like every review has to be five stars. A thoughtful, specific review is more helpful than a generic “Everything was amazing!” Mention what stood out, what service you purchased, how communication was handled and anything future couples should know.
Week 3–4: Get Your Wedding Photos Organized
This is the fun part. Your photographer may not have the full gallery ready yet, but you can start organizing everything you already have. Create a folder with:
Wedding Photos
Ceremony
Reception
Getting Ready
Family
Wedding Party
Details
Portraits
Honeymoon
Guest Photos
Vendor Photos
Then create a separate “Print & Share” folder for the photos you absolutely love. This makes it much easier later when you're ready to:
Order wedding albums
Print framed photos
Create thank-you cards
Share photos with family
Create a holiday card
Make a parent album
Preserve photos alongside your dress and bouquet
Don't Forget the Vendor Gallery
Once your photographer sends your gallery, don't keep the photos entirely to yourself. Many vendors love receiving professional images from the wedding. Send a few favorite images to your planner, venue, florist, hair and makeup artist, etc. If you post the photos publicly, tag your vendors when appropriate. It's a small gesture that can mean a lot to the people whose work helped make your wedding happen!



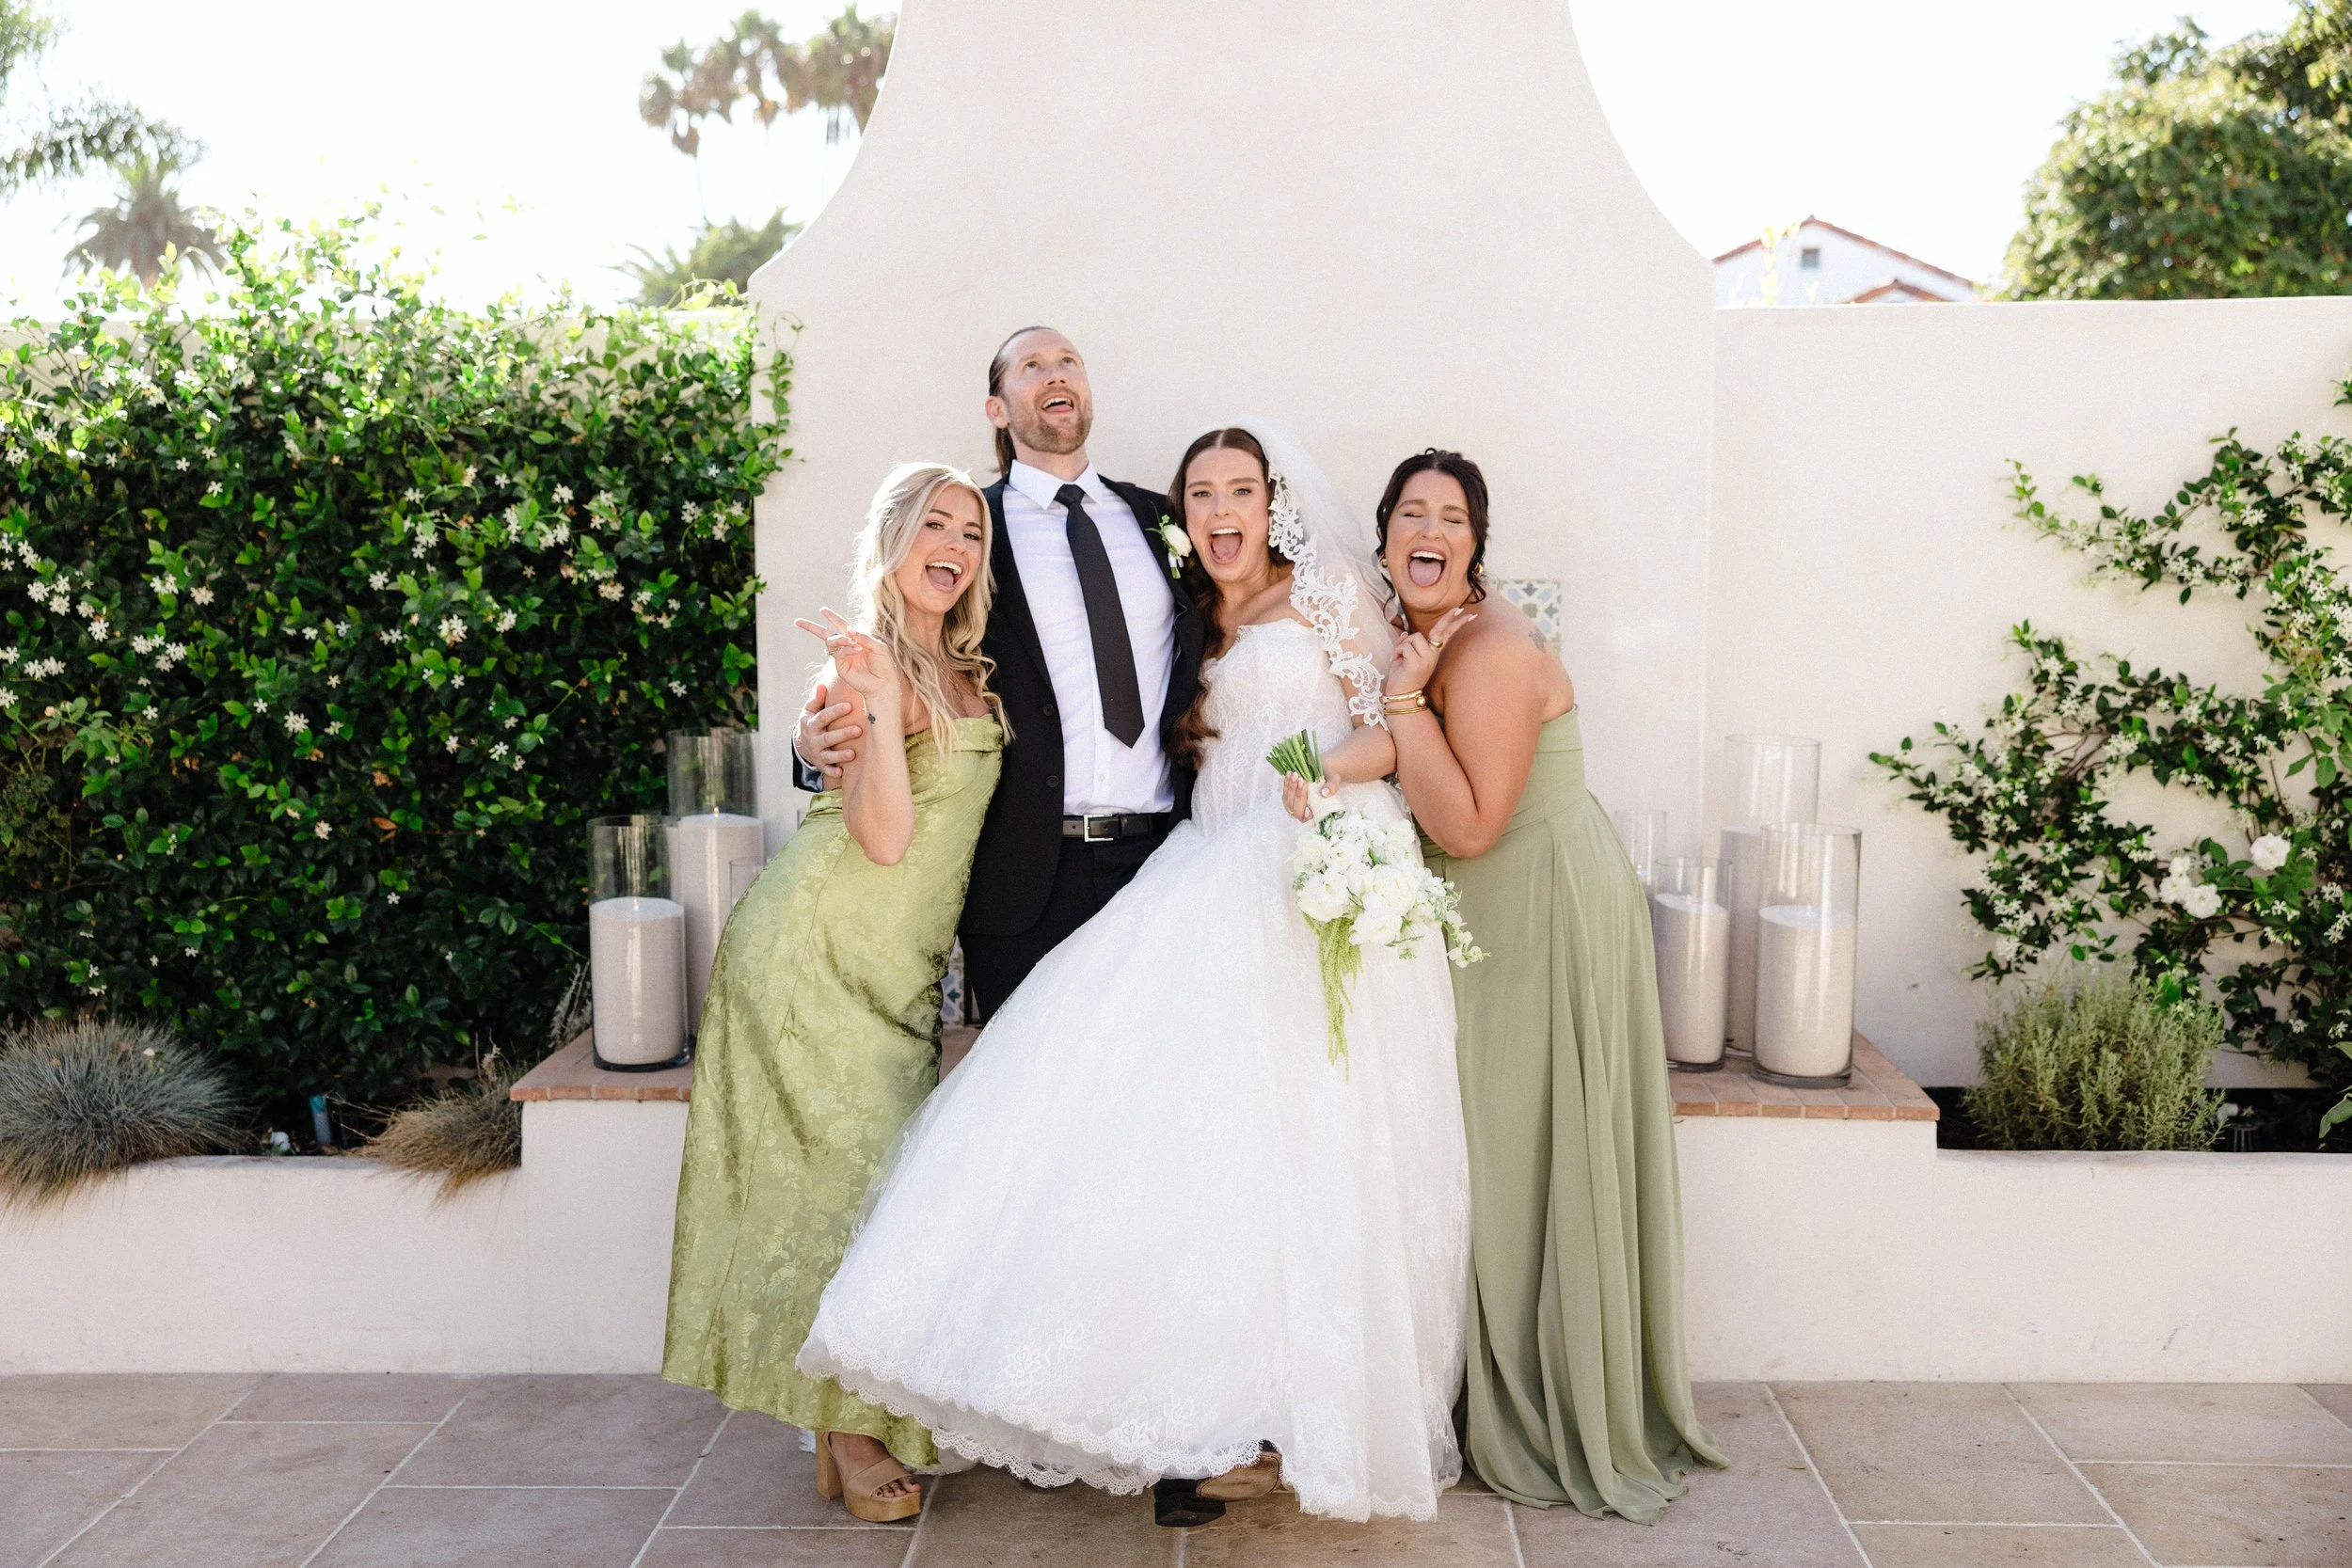
Your 30-Day Newlywed Checklist
Within 48 hours:
Decide what you're doing with your bouquet
Contact a floral preservation artist
Follow your florist/preservation artist's instructions for keeping flowers fresh
Make sure your gown is stored safely while you decide on preservation
Week 1:
Arrange wedding dress cleaning/preservation
Organize gifts
Start your thank-you list
Save your marriage certificate somewhere secure
Back up any photos you already have
Week 2:
Begin thank-you notes
Decide whether you're changing your name
Start name-change paperwork if applicable
Update your employer and insurance information
Begin reviewing vendors
Week 3:
Continue thank-you notes
Complete important account updates
Post vendor reviews
Organize your wedding photo gallery
Share favorite images with vendors
Week 4
Finish thank-you notes
Check that important paperwork has been submitted
Choose photos for printing
Decide whether you want a wedding album
Make a plan for long-term storage of your dress, bouquet, and wedding keepsakes
One Last Thing: You Don't Have to Do Everything Immediately!
The first month after your wedding can feel surprisingly busy. There's paperwork, gifts, thank-you notes, photos, and then there's the small matter of adjusting to being married. Prioritize the things that are time-sensitive, especially flowers and dress preservation. The rest can be tackled a little at a time. Your wedding may have lasted one day, but the memories don't have to.